Since I'm teaching Christine how to sew, it felt like an ideal time to make my first official Free Soft Wear patterns! We're starting with two basic patterns, the 'hello world' of sewing. The first is a dice bag with a drawstring, the second is the most basic skirt tutorial possible.
These are really more of tutorials than patterns. I don’t have all of your measurements, I don’t have the patience to figure out standard sizing, and it's more fun if you can customize it to your taste. So I’m going to give the basics and you can make your skirts custom to you!
Working offline? Check out the PDF versions of the Dice Bag and Skirt tutorials
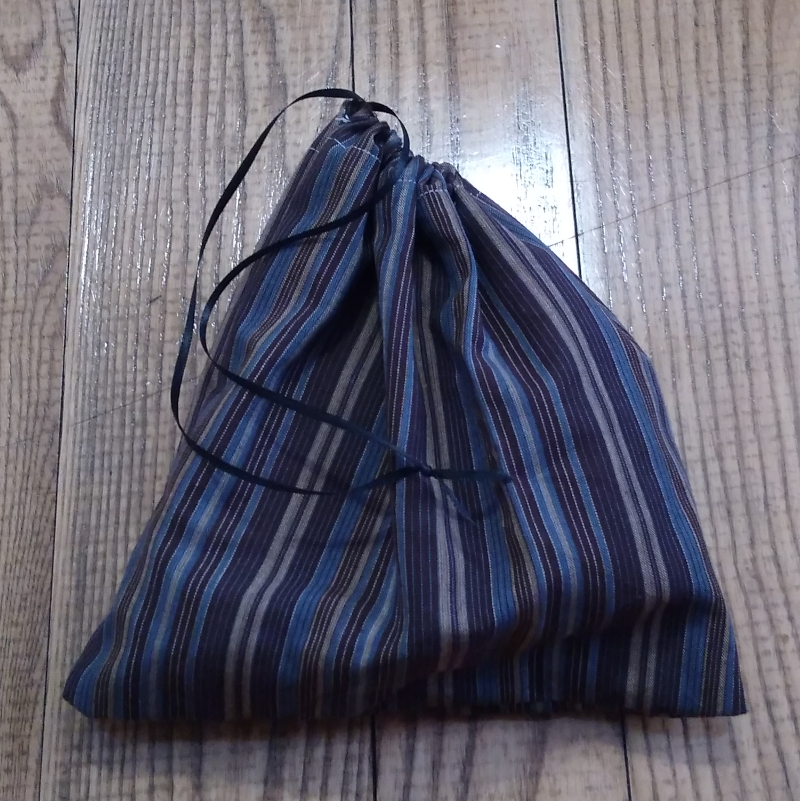
Dice Bag
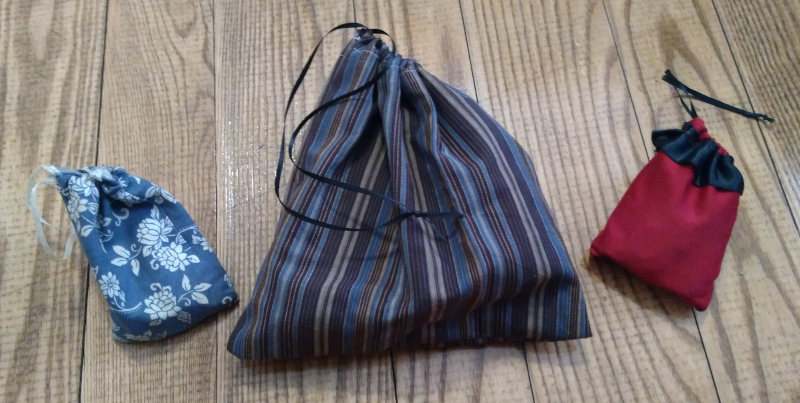
Supplies needed:
- Scissors capable of cutting two layers of fabric
- Straight pins
- 1 large safety pin (2" or larger is ideal, but you can work with what you have)
- A mode of sewing (I’m using a sewing machine but if you don’t have a machine, this can be sewn by hand with a needle it’ll just take longer)
- A seam ripper is always helpful
Materials:
- A scrap of fabric, you can use whatever size you've got laying around, but probably want it to be at least 6" square.
- A length of ribbon or string (the size of ribbon is variable, use whatever is proportional to the size of your bag).
- Thread
Sewing instructions
- Fold your fabric in half with right sides facing. Pin it in place so your fabric doesn't shift.
- Sew together two sides of the rectangle.
- Make a double fold hem on the unsewn side: Fold about 1/4" hem on one side of your rectangle and pin it. Sew a single stitch line to secure it. Fold again 1/4" or 1/2" hem, pin it, Sew a single stitch line near the bottom of the hem leaving a gap around the side seam so that you have a space to lead your drawstring through.
- Cut a length of ribbon that is longer than the opening of the bag.
- Secure a safety pin to one end of the ribbon. Push the safety pin into the opening in your hem and use the safety pin to draw the ribbon through the hem.
- Tie the end of the ribbon to secure it.
- Cut off any loose ends
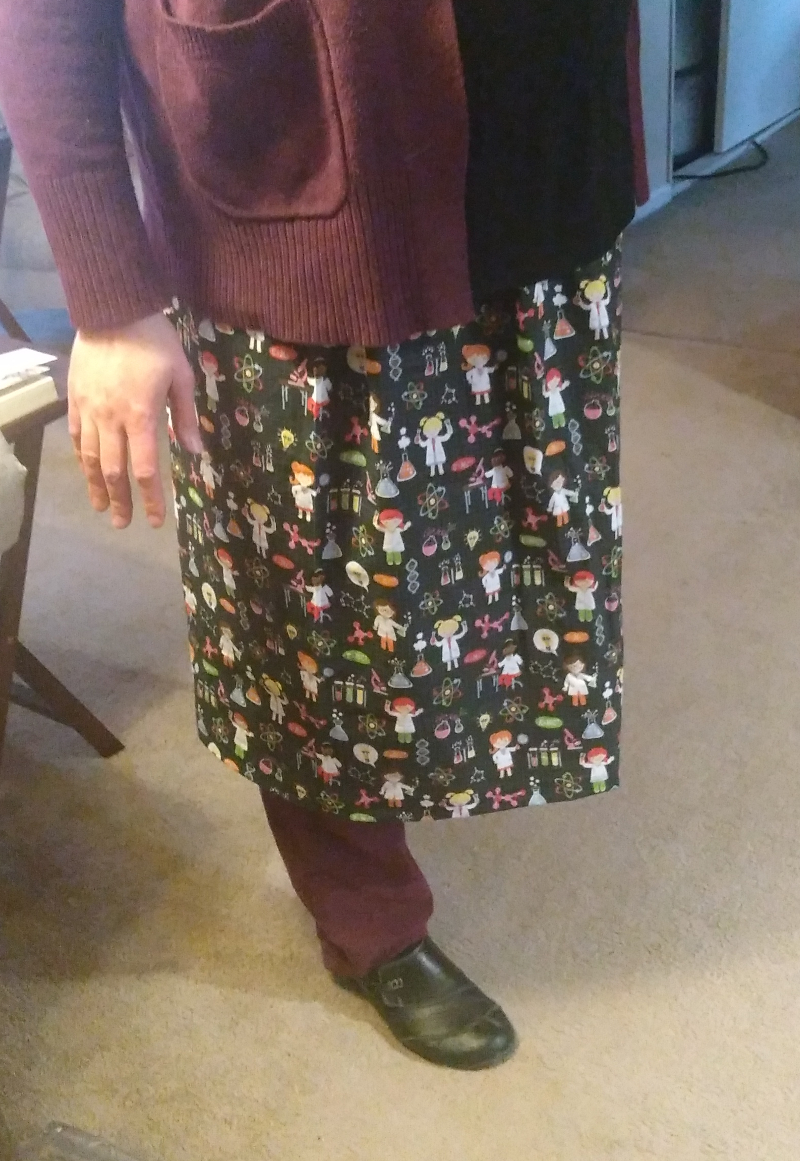
Basic Skirt
Supplies needed:
- Scissors capable of cutting two layers of fabric
- A soft tape measure (or string/yarn + a rigid tape measure/yardstick/ruler/etc)
- Straight pins
- 1 large safety pin (2" or larger is ideal, but you can work with what you have)
- A mode of sewing (I’m using a sewing machine but if you don’t have a machine, this can be sewn by hand with a needle it’ll just take longer)
- A seam ripper is always helpful
Materials:
- 2-3 yards of fabric depending on the size and fullness of the skirt you want (If you want to make this for a child it’ll be less! You might want to do your measurements to calculate how much fabric you will need before you purchase your supplies since I’m not giving precise measurements)
- 1” elastic for waistband
- Thread
Measurements
- Before you start, you should figure out what size of seam allowance you feel comfortable with, usually between 1/4" and 1/2". Whatever you use, you should factor in your seam allowance to your measurements and remain consistent. You can use the foot of your sewing machine or marks on your sewing machine to keep this consistent.
-
Measure your waist:
- First, use your soft tape measure or string to measure your waist
- Since this is an elastic waistband skirt, you want the fabric of your skirt to be larger than the final desired measurement so that the elastic has space to stretch. I usually add ~3" or the width of my hand to my waist measurement. Before you cut your fabric, make sure the waist measurement you've calculated will have enough space for the waistband to clear your hips.
- Add in your seam allowance for each side
- Example: if your actual waist measurement is 30", and you're doing 1/4" seams, you want to cut your fabric to add up to at least 33.5"
-
Measure length:
- Figure out where on your waist you want the skirt to sit (high-rise, waist, hips) and how long you want it to go (mini, knee-length, tea length, full length). Then use your tape measure or string to measure the length from where you want your waist to be to where you want the skirt to fall on your leg. This step is much easier if you've got an extra person to give you a hand.
- Add ~1.5" to make a channel for the elastic to fit into at the waist.
- Add at least double your seam allowance to do a double fold hem so it doesn't fray. If you want a bit more leeway, leave a larger amount of space on the length because you can always hem it up, but once it's cut there's only so much you can do to make it longer.
- Example: You want a full-length skirt, the distance from your waist to your ankle is 46", and you're doing 1/4" seams (x2 for the double fold hem), you want to cut your length to 48"
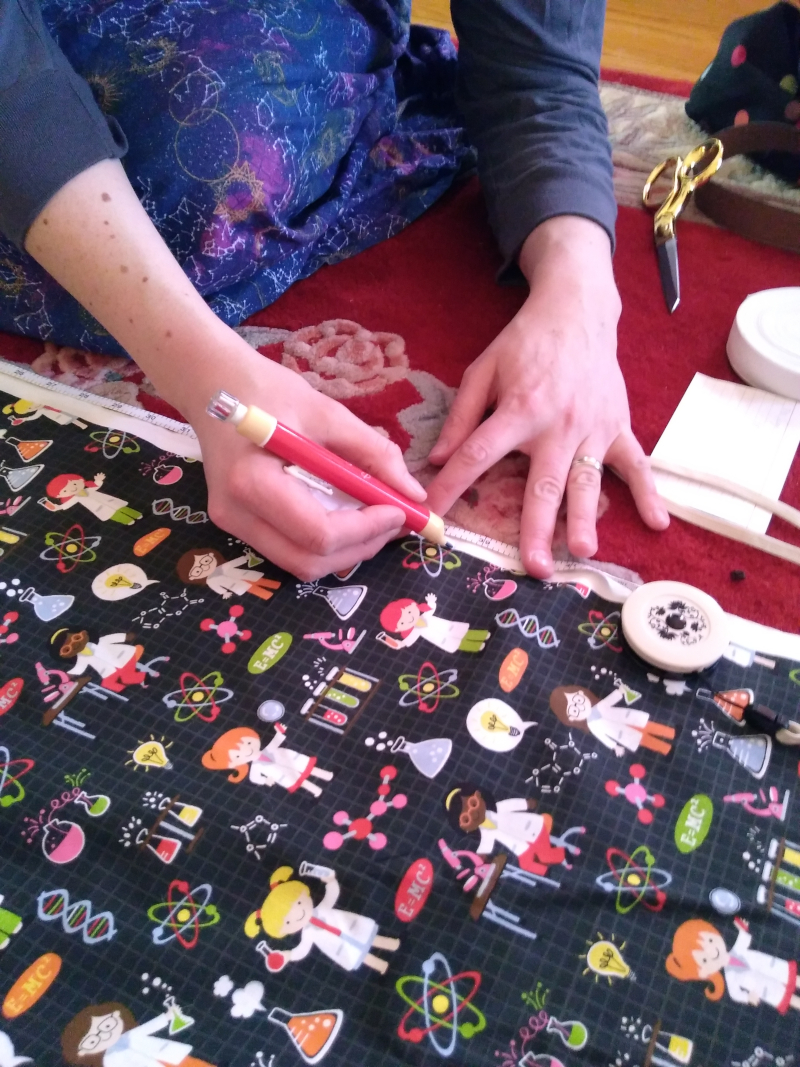
- Prepare and cut your fabric:
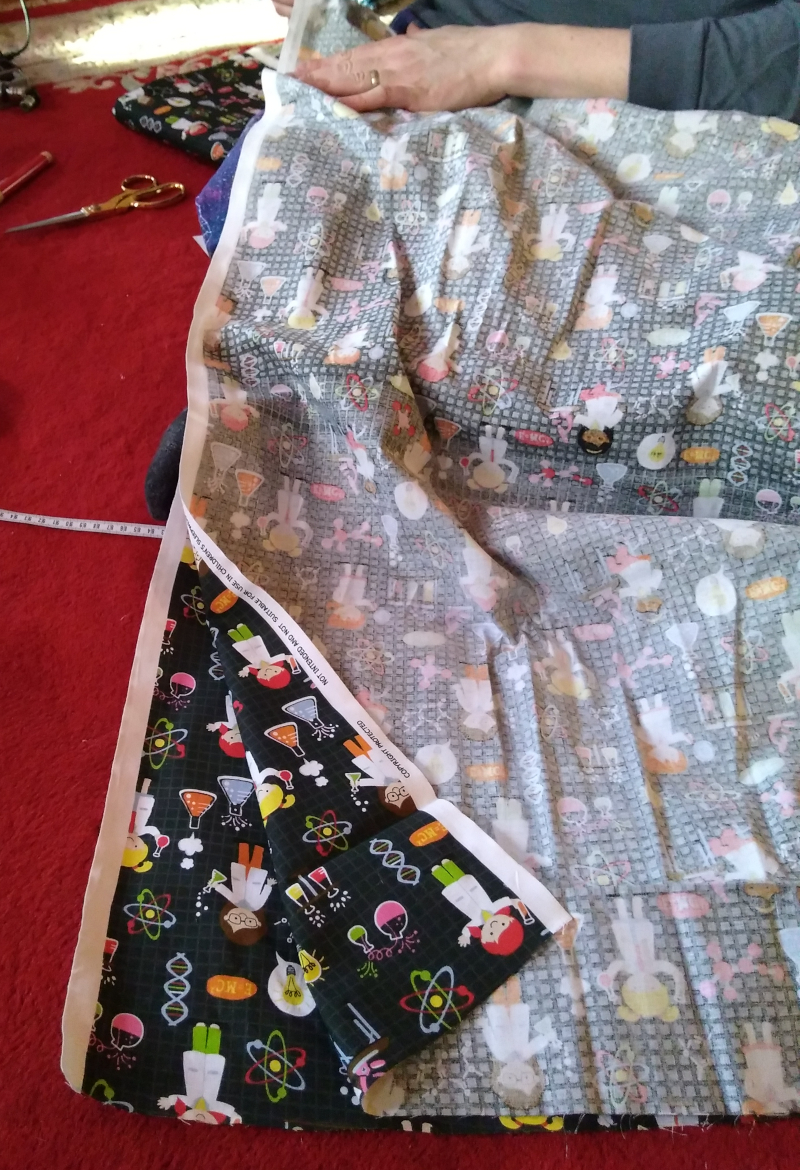
- Pay attention to your fabric pattern. Is there a design that needs to be facing a specific direction? Keep that in mind when you're laying out your pattern if you don't want your dogs/cats/dinosaurs/whatever to be upside down or sideways.
- This skirt is essentially a tube of fabric with an elastic waistband drawing it together at the top. If the pattern of your fabric and the length of the skirt you need allow it, you could cut one piece to the size of your waistband wide and the length of your skirt high. If the pattern of the fabric or the length of the skirt do not allow this, you may need to cut two panels to accommodate your needs
- Example 1: You are using 54" wide fabric and the pattern does not have a distinct orientation. You can cut the fabric to the waist size of 33.5" and then cut or hem to length from the 54". This means you will have a skirt made of a single piece of fabric
- Example 2: You are using 45" wide fabric and the pattern has a distinct top and bottom. You would cut two panels to the 46" length of the skirt. You will then cut one or both of the panels so that together they add up to the 33.5" waist size.
- Line up pattern so that right sides (i.e. the 'front' of your fabric) are facing each other.
- If you are using one piece of fabric, fold in half and pin the side seam. If you are using two pieces of fabric, stack the two rectangles on top of each other and pin your two side seams.
Sewing Instructions
- Sew together side seam(s). If you are worried about the fabric fraying, you can either hem the seam over so that the cut side of the fabric won't show, or run a second seam parallel to the first so that if it does fray it won't effect the exterior of the skirt.
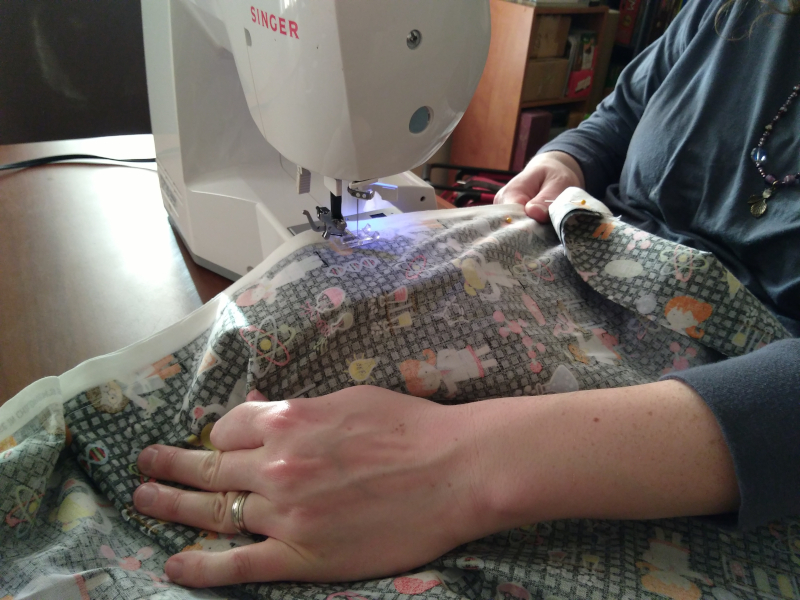
- Single hem along the waistline of the skirt (fold over to your seam allowance and run a straight stitch over it)
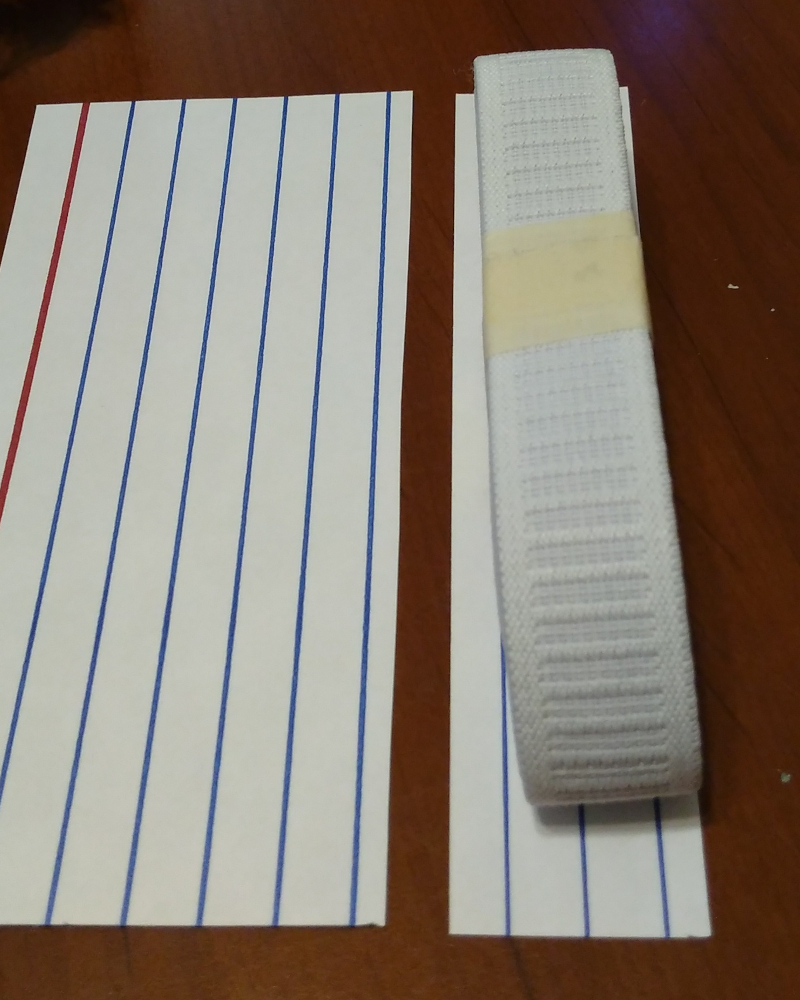
- Fold again leaving a channel large enough to fit your elastic waistband through (if you are using 1" elastic, fold to 1 3/8" this give you enough space for a 1/4" seam allowance and an 1/8" margin of error). An easy way to ensure that your hem is a consistent size, you can cut a strip off of an index card or other piece of cardstock and fold over that as a template. Run a straight stitch at the bottom of the waistband leaving a 1 1/4" gap in this seam.
- Gauge the size of waistband by wrapping the elastic around your waist and tightening it to the level that seems comfortable to keep the skirt where you want it. Leave a 1" allowance and cut to size.
- Use a flat pin to attach one end of elastic to your skirt panel outside of the gap in your waistband seam. Attach the safety pin to the other end of your elastic, feed it through the gap in your waistband seam. Use the safety pin to feed the waistband through the channel until it emerges again through the gap.
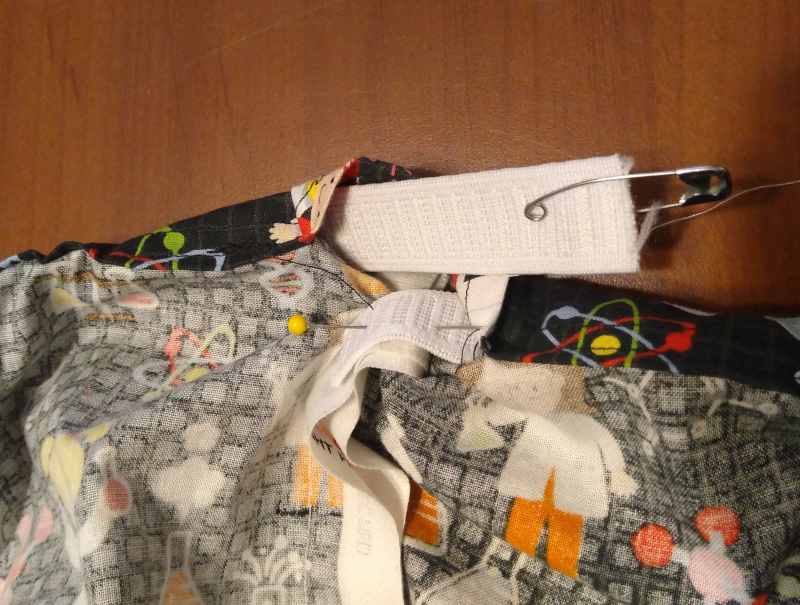
- Make sure that your elastic is not twisted inside of the waistband.
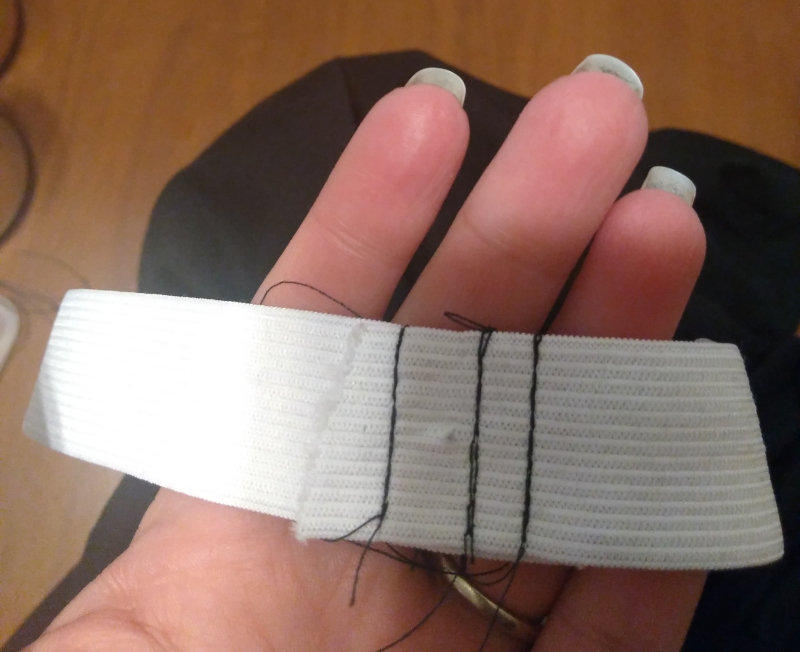
- Overlap your 1" allowance on your waistband and sew several parallel lines within that inch to secure the elastic (since elastic stretches, this is an easy point of failure if you only do one point of attachment).
- Feed the seam back into the channel and close the gap in your seam
- Even out the distribution of gathers in the waistband so that it is even across the skirt. Start by stretching the waistband as far as it will extend, then manually even out any additional areas where necessary.
Try it on!
- If you are making the skirt for yourself or someone in the vicinity, this is a good time to turn the skirt right side out and try it on to gauge the fit of the waist and the length of the skirt.
Double Hem the bottom of skirt
- Fold hem once to seam allowance, run a straight stitch to secure.
- Fold hem to the the length of skirt you prefer.
Finishing Touches
- Cut all of your loose threads.
- Try skirt on. If anything doesn't quite look right, don't be afraid to rip your seams and redo (I probably spend more time ripping than sewing).
Free Soft Wear
This sewing tutorial is released under CC BY-SA 4.0! Please feel free to share and adapt the content of this post!